Sunday, October 26, 2014

Toasted Apple-Cheese Breakfast Sandwiches

On October 17th, one of the local hospitals sponsored a "diabetes taste-in". It was a free event (always appreciated!), with diabetes-related vendors displayed their wares and offered literature and some samples. Of course, as a taste-in, the main purpose is to taste a variety of foods and woo boy, were there some great ones to taste! The focus was on fall flavors, which meant apple, turkey, cranberry, and (of course!) pumpkin were on display. The head chef of the hospital demonstrated how to cook one of the recipes and I decided to try it as well. It's a toasted apple-cheese breakfast sandwich and it's very tasty.

The recipe makes four servings and calls for:

1 lb apples, quartered, cored, and thinly sliced
2 Tbs water
1/4 Tsp ground allspice
1/3 C light cream cheese, softened
1/2 C white cheddar cheese, shredded
2 oval multi-grain wraps
1/4 C chopped walnuts or slivered almonds
Nonstick spray

Now, since I knew I would make this just for myself, I looked for a small wrap, one with relatively few carbohydrates. I also decided to try a plain flour wrap, just in case I found this wasn't quite as good as it was at the taste-in.


This decision did have some consequences, which will become apparent later on. 

For my single serving, I used 1/4 lb of apple -- essentially, one small Macintosh apple. I weigh the apple before I core it and use that as the amount of apple (or other fruit) I'm going to use. In a pot or skillet, combine apple slices, water (I used 1/2 Tbs water) and allspice. Feel free to substitute other spices if you like. I used cinnamon and nutmeg instead of allspice. 


Cover and cook over medium heat about 6 minutes or until apples are tender, stirring occasionally. Uncover and cook for about 1 minute more or until liquid is evaporated. 

Spread the cream cheese on the wraps. I used about 1 1/2 Tbs of cream cheese for the wrap, though technically, 1/4 of 1/3 cup is about 1 1/3 Tbs (aka, 1 tablespoon, 1 teaspoon). When spreading the cheese, leave approximately 1/2 inch border or the cheese will run! Top with the apple mix and sprinkle with the cheddar cheese and walnuts (or almonds). For a single serving, I used 2 Tbs of cheese and 1 Tbs of chopped walnuts. Fold the wrap and lightly spray the top with a nonstick spray.


Heat your nonstick griddle or skillet over medium heat and add the wrap with the coated side down. Coat the top of the wrap with the spray and cook for about 6 to 10 minutes or until lightly browned. Turn once during cooking to brown both sides evenly. 


If you're using large wraps, cut them into wedges to serve. The recipe as given makes 4 (1/2 of wrap) servings. 


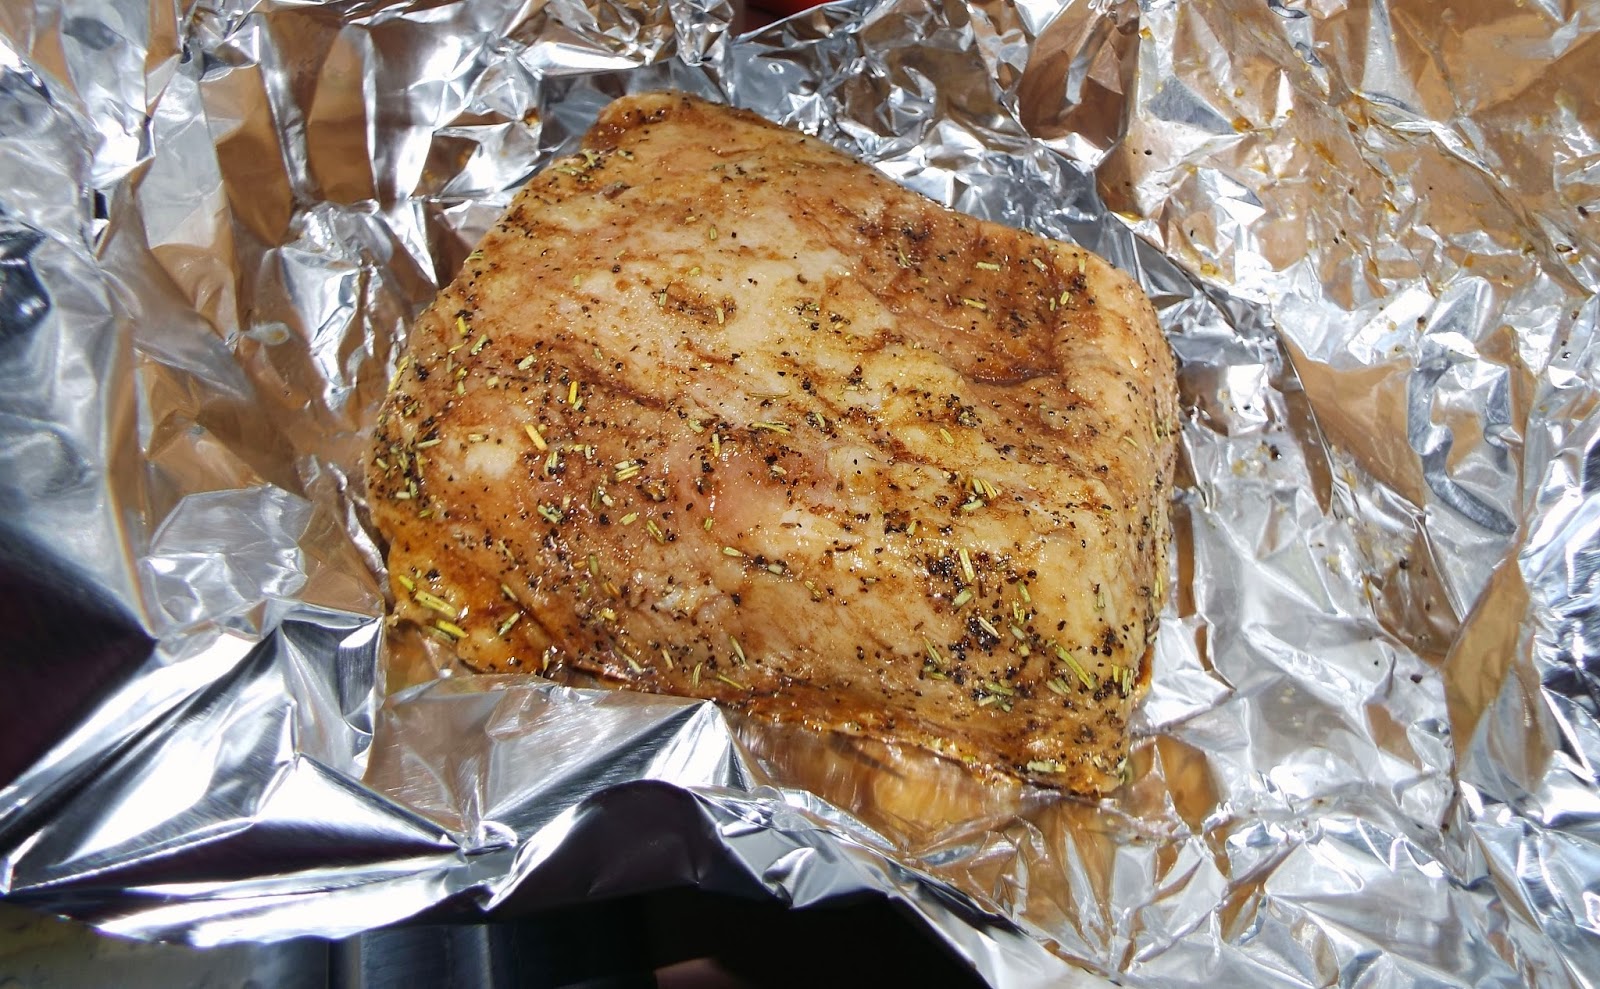
In this last photo, you can see the problem I had with using the small wraps: I had spillage. Folding the wrap was difficult and I had to stick the stuffing back into the wrap. I also found that using the small wrap meant that leaving a half-inch border with no cream cheese meant that the cream cheese was quite thick in the center. One saving grace was the choice of the plain flour wrap. Using that instead of the multi-grain wrap meant the flavors of the cheese and apple came through while the wrap was relegated to the background. This recipe can be made vegan by using the vegan versions of the cheeses (vegan cheddar and cream cheese), which is also helpful for anyone who is lactose intolerant. 

I do recommend this recipe, though if you're going to make it, I would recommend using the larger wraps and cutting it in half. Don't be afraid to experiment with spices, different types of apples, wraps, and cheeses. There are numerous possibilities! 

According to the recipe book, each serving has approximately 249 calories, 14 grams total fat, 26 grams total carbohydrates, 8 grams fiber, and 11 grams protein. This will vary depending on your choices of (primarily) wraps and cheeses, so don't forget to make your own carbohydrate calculations before you inject insulin. Otherwise, enjoy!


Saturday, August 30, 2014

Apple Spice Wheat and Flax Muffins

Good Morning! Summer is winding down for us in the US. As fall starts to roll in, that means apple season is starting! Fresh apples are such a delicious treat and while the majority of the apples are not ready quite yet for picking and eating, our local supermarket had a great deal on some apples that I just couldn't resist. I also had made a promise to my aunt that I would try my hand at a recipe she had found for whole wheat and flax seed apple muffins. I finally got up the courage to try making these muffins, making only a couple of changes from the original recipe. I also used calorieking.com to calculate the calories, fats, carbohydrates, and proteins in this recipe, since the box didn't have that information available. Too bad, since the recipe is actually quite reasonable in terms of calories, fat, and carbs! The basic recipe can be seen here, if you look at the back of the box. You need:

1/4 cup Milled Flax Seed
3/4 cup Whole Wheat Graham Flour
3/4 cup White Flour
1/2 cup Sugar
2 tsp Baking Powder
1/2 tsp Baking Soda
1/2 tsp Salt
1 tsp Cinnamon
1/2 tsp Nutmeg
1/4 tsp Ground Ginger
1/4 tsp Ground Clove
1 Egg, beaten
3 Tbsp Canola Oil
1/2 cup Skim Milk
1-1/2 cup Finely Chopped Apples
1/2 cup Chopped Nuts (optional; I did not use)

Heat oven to 400F (204C). Blend flax seed, flours, sugar, baking powder, baking soda, salt, cinnamon, nutmeg, ginger, and clove in medium bowl. In large bowl, combine egg, oil, and milk. Carefully blend the dry ingredients into the wet ingredients, stirring until the ingredients are just wet. DO NOT OVER STIR. That is the key to tender, yummy muffins. If you keep stirring after the dry ingredients are moist, the muffins will be tough. I find using a wooden spoon seems to work best to stir muffin batter without over stirring it. Finally, fold in the apples and nuts (if you're using nuts). Batter is very thick! Line your muffin tin or spray the tin with non-stick spray, fill 2/3 of the way up with the batter, and bake for 18-20 minutes or until the top springs back when touched. Makes 12 muffins.


When I put the ingredients into calorieking.com, I found the entire batch as I made it (no nuts) has 1,755 calories, 57.4 grams fat, 212.5 grams carbohydrates, and 38.4 grams protein. Now, I know I wouldn't eat all 12 muffins at once, but would eat one. Dividing the batter by twelve, each muffin has approximately 146 calories, 4.78 grams fat, 17.70 grams carbohydrates, and 3.2 grams protein. Not bad, all things considered! In addition to the muffin, I had some turkey bacon, a 3-3/8 ounce apple, and a 6 ounce container of Yoplait light yogurt. Together, that's approximately 48g carbohydrates, for which I take 2.5 units Humalog.

If you decide to add in walnuts (for example), each muffin will have approximately 178 calories, 7.95 grams fat, 18.38 grams carbohydrates, and 3.94 grams protein. Adding nuts does increase the fat content, but for people who are not quite used to restricting their fat to around 5 grams per serving, the nuts will make the muffins seem more moist and more like what they are expecting their muffin to taste like. Be aware, though, that the more fat you consume, the longer the carbohydrates will stick around in your system, which will keep your blood sugars higher for a longer period of time, so keep that in mind.

Enjoy!!

Friday, August 22, 2014

Spicy "Fried" Chicken

Though summer is coming to an end, tonight felt like one of those night when some good, old fashioned food might taste good. Lately, chicken has become B-O-R-I-N-G and often times it's dry and not very good. Then, if I buy fried chicken, which is usually juicy and full of flavor, I know it's also full of calories, fat, and carbohydrates that are not good for anyone, and especially not for me with my diabetes and my tendency to high cholesterol. So, tonight, I decided to try my hand at making "fried" chicken -- a first for me!

The basis for the recipe comes from the book Diabetes Meals on $7 a Day -- Or Less (2nd Ed) from the American Diabetes Association and is Marilyn's Spicy "Fried" Chicken. It's a fairly simple recipe and my adjustments have been deemed "delicious". The original recipe calls for:

3 egg whites
1 1-oz packet ranch-style salad dressing mix
1/2 teaspoon black pepper
3/4 cup unseasoned bread crumbs
5 6-oz boneless, skinless chicken breasts
cooking spray
1 tablespoon corn oil

I didn't have any ranch style salad dressing mix and I thought I could spice this recipe up even more, so I made some adjustments:

3 egg whites
1/2 teaspoon black pepper
1/2 teaspoon garlic powder
1/2 teaspoon paprika
1/2 teaspoon Cajun seasoning
pinch of salt
3/4 cup unseasoned bread crumbs
5 6-oz boneless, skinless chicken breasts
Cooking spray
1 tablespoon canola oil


Heat your oven to 375F (190C) and spray a baking sheet with cooking spray. Whisk egg whites in a large bowl and set aside. Place bread crumbs and seasoning in a large, zip lock plastic bag and mix well. Dip the chicken pieces in the egg white, making sure the chicken is completely covered. Then place each piece in the bag with the bread crumbs and seasoning, shake until covered and place on the baking sheet. Yes, this is very much like a homemade Shake-N-Bake, but one good thing about making this yourself is that you can control your ingredients and your spices. Want this spicier? Increase the Cajun seasoning and the paprika. Craving an Asian flair? Use Chinese 5 spice in place of the other spices except for the garlic (garlic is wonderfully versatile!). It's up to you how you flavor your chicken!


Bake for 20-25 minutes, then brush the chicken with the oil. Return the chicken to the oven and bake again for another 10 minutes. Juices should run clear and there should be no pink evident when done. 


The recommended serving size is 3 ounces and has 187 calories, 7 grams fat, 7 grams carbohydrates, and 24 grams protein. Though packaged Cajun seasoning is loaded with salt, since I used only 1/2 teaspoon over 30-oz chicken, I believed that there was far less salt per serving of chicken than when I use the Cajun seasoning as a rub. 


Admittedly, this is not like Grandma's fried chicken or even KFC, but it's also a whole lot less greasy than the pre-made stuff. It also didn't take very long -- Had I not had to help a neighbor, it would have been done and plated in about 35-40 minutes. But, that's OK. I  don't mind helping friends and it didn't take any longer than if I had gone to a store and bought the not-so-healthy chicken instead. And, I love trying new recipes and this definitely was a winner!

Saturday, July 5, 2014

Balsamic Pork Tenderloin

Summertime and the living is....HOT! Yes, summer is here and the heat is on. I don't know about anyone else, but when summer hits, I hate cooking indoors. The kitchen gets too hot, baking is definitely out of the question, and some foods just don't taste good during the summer. Besides, I love grilling! Who doesn't want to use the grill, especially during the summer?

Right now, there isn't much in either the refrigerator or the freezer, but I did find a 1.5 lb portion of a pork tenderloin we'd frozen some time back, and I found a recipe for grilled pork tenderloin that wasn't "pork choppy": Balsamic Pork Tenderloin. This looked easy and much faster than most marinated meats, so I decided to give it a try. The recipe calls for 1 lb pork tenderloin, 3/4 cup balsamic vinegar, 2 tablespoons olive oil, 1 tablespoon snipped fresh rosemary, 2 cloves minced garlic, 3/4 teaspoon black pepper and 1/8 teaspoon salt. Mix 1/4 cup of the vinegar (reserve the remaining 1/2 cup to make a glaze later), oil, rosemary, garlic, black pepper, and salt in a bowl, put the tenderloin in a large bag, and pour the vinegar mix over the pork. Close the bag and allow to sit in the refrigerator for 1 hour (or longer, if you wish).

I don't have fresh rosemary or garlic, so I used 1 teaspoon of dried rosemary and 1/2 teaspoon of garlic powder instead. Here's what the pork looks like when it's done marinating:


The instructions from Diabetic Living say that you should prepare your grill for indirect grilling over medium heat and to have a drip pan to collect the drippings, however, I didn't have anything that I felt was suitable to put on the grill, so I simply wrapped the pork in foil. I have to say that if you cook the pork over the flames but have the meat covered in foil, I'd suggest lowering the cooking temperature even further, say down to low, so the meat does not dry out too fast. Either way, cook the meat for approximately 40 minutes or until an instant read thermometer inserted into the center of the meat registers 155 degrees F. Here's the pork after it's cooked: 


Once you've started the meat, prepare the balsamic glaze. Take the 1/2 cup vinegar, pour into saucepan and bring to a boil. Reduce heat and boil gently for the next 5 minutes. You should have about 1/4 cup vinegar left. 

When the meat reaches the 155 degree mark, brush all sides of the pork with the glaze and grill for 1 minute more. Remove from grill, cover with foil, and wait 15 minutes, during which the pork's temperature will continue to increase. Slice and serve!

I had some leftover rice and green beans, plus I made some corn (pork and corn always seem to taste good together!), so this made for a nice meal with an easy clean-up!


I don't always like vinegar based dishes, and balsamic vinegar has a very distinctive taste. Yet, this was good, and fairly easy. My biggest suggestion if you try to make this is to watch the meat closely the first time you make it. It's very easy when cooking on a grill to over cook your food and end up with something dry and tasteless, especially if you're trying something new. 

According to Diabetic Living, a 2 ounce serving of this pork should have 126 calories, 4g total fat, 54mg sodium, 4g carbohydrates, and 16g protein. 

Till next time, happy eating!

Sunday, May 11, 2014

Happy Mother's Day!

In the US, the first Sunday in May is designated as a celebration of one of the most important persons in our lives, i.e., our moms! When I was growing up, I might make and bring breakfast to my mom, or clean the house, or just try to not fight with my brothers. As I grew up and started taking more responsibility in my life, I began to realize how...inadequate...those gestures were. Moms are truly super heroes made flesh! At times, my mom worked close to 20 hours a day for months on end in order to keep a roof over our heads, food on the table, and clothes on our backs. And she did this with very little support from anyone. She was and is pretty darn remarkable for everything she went through and that she did it with as much grace as she did. So, on this day, I say Thank You, MOM!!

I also decided to make a cake for her. Not just any cake, though, but a cake based on her mother's recipe from the Depression Era called Poverty Cake. From what I've read, there were many different recipes for poverty cake out there, but from what I've seen, I think this may be one of the simplest recipes out there. That makes this poverty cake recipe really great for the 21st century cook who doesn't have a lot of time to spend in the kitchen but still wants something sweet. I was also able to adapt the recipe to lessen the fat and sugars, making it decent treat for those of us with diabetes. So, without any further ado, here's Grandma Jean's Poverty Cake Recipe:

1 1/2 cups flour
3 tablespoons unsweetened cocoa
1 teaspoon baking soda
1/2 cup Splenda Blend for Baking (or another sugar/sweetener blend)
1 teaspoon vanilla (pure real vanilla is best, but imitation will work as well)
1/4 cup canola oil
1 tablespoon white vinegar
1 cup cold water

Preheat oven to 350F (176.67C). Add flour, cocoa, baking soda, and Splenda Blend to an 8-9" cake pan. Mix to distribute dry ingredients evenly. Create three depressions in the flour. Fill one depression with vanilla, one with the oil, and one with the white vinegar. Pour the water over top. 

Stir the batter to mix completely. All the flour should be wet! Bake for 30 minutes, testing with a toothpick for doneness (toothpick should be clean after inserting into the center). 
Allow to cool in pan. You can sprinkle with 1 tablespoon of powdered sugar if you like. 

While I have frosted this cake, it's really much better when you eat it with powdered sugar or a fruit topping (I like berries!). There's just something about it that begs for something lighter than icing. Cut this into 12 servings, and each serving has:

140 calories
5 grams fat
20 grams carbohydrates
2 grams protein

Not bad and the taste is "bolus-worthy"!

So, to all those fabulous mothers out there, Happy Mother's Day!!

Saturday, February 1, 2014

A Favorite Breakfast: Chocolate Chip Pancakes!

After a diabetes diagnosis, breakfast can become a frustrating affair. Following the Atkins plan? Plan on giving up your cereal, toast, muffins, most fruits, and even your coffee. Following a low-fat plan? Well, again, plan on giving up most breakfast fare. After my diagnosis, I insisted on a very low-fat meal plan, one which had 20% calories or less per day from fat. So breakfast was often dry toast or bland cereal. BORING. How many times can you eat the same puffed rice cereal before you want to scream?

So, one February, I forget when, I got a copy of Diabetes Forecast in the mail with a recipe in it for silver dollar pancakes with apples and raisins on top. Chocolate Chip pancakes.  I decided to make them and was completely enchanted. The taste was wonderful and the smell couldn't be beat! It's become one of my favorites and as I made it today, I decided I had to share. It's not fair to keep this wonderful breakfast alternative to myself!

Pancake Ingredients:

1/2 cup white flour
1/2 cup whole wheat flour
1 teaspoon baking powder
1 teaspoon sugar (no artificial sweeteners)
pinch of salt
1 tablespoon canola oil
1 egg white
1 cup skim milk
2 tablespoons mini chocolate chips

Sift the white flour, whole wheat flour, baking powder, sugar, and salt together in mixing bowl. Add oil, egg white, and milk and whisk until blended. Carefully fold in the mini chocolate chips, stirring until mixed thoroughly.

Heat a nonstick griddle or skillet over medium high heat until a drop of water sizzles on it. Drop pancakes on skillet, 1 tablespoon full for each pancake. Pancakes are ready for flipping when they look like this:


Cook on each side.

For the apples, simply cut up the apples -- for a single serving, use a 3 1/2 oz - 4 oz apple, like you would normally eat. Place apples in small pot, add a small amount of water -- just enough to cover the bottom of the pan. If you want, add a sprinkle of cinnamon and nutmeg, or any of your favorite spices. I also add a drop or two of vanilla, which I find enhances the flavor of the apples. Cook on medium high heat, allowing the water to boil, though taking care to not allow all the water to completely boil off and the apples to burn.


Slide pancakes onto plate, pour apples over top, serve with your favorite breakfast meat!


I love good coffees to go with this breakfast -- ones that are aromatic and flavorful. It's a colorful and low-fat breakfast that is easy and fast to make, healthier than the boxed pancake mixes, and of course, it's chocolate chip pancakes! It's a great change of pace and especially good on a weekend.

Till next time!

Thursday, January 30, 2014

Braised Beef over Butternut Squash Polenta

Eating the same foods over and over again can get pretty boring. Lately, we've been going through a bit of a boring stretch with food, sticking with favorite old standbys. And it shows. I have gotten bored with eating. So today, I decided to make something different, something I haven't had in a long while: Braised Beef over Butternut Squash Polenta, a recipe I found in Diabetic Living magazine.

The recipe:

2 pounds boneless beef chuck
4 teaspoons olive oil
2 stalks celery, cut into pieces
2 medium parsnips, peeled and cut into 2-inch pieces
1/2 cup coarsely chopped onion
1/2 of medium turnip, peeled and cut into 2-inch pieces
1/2 small rutabaga, peeled and cut into 2-inch pieces
1/2 cup dry red wine or reduced-sodium beef broth
1 1/2 cup water
2 teaspoons fresh rosemary
1 cup lower-sodium beef broth
2 teaspoons Kitchen Bouquet (or other browning sauce)
1/3 cup fat-free milk
1/4 cup water
3/4 cup yellow cornmeal
1 cup water
5 ounces frozen butternut squash, thawed
1/2 teaspoon salt
1/4 teaspoon black pepper
1/4 cup cold water
1 1/2 tablespoons all-purpose flour
Option: Fresh Parsley Leaves

Preheat oven to 325F (162.778C). If you're not using precut meat, cut the meat into 1 1/2 inch pieces. Heat 2 teaspoons olive oil in 4 quart Dutch oven, cooking half the meat at a time until browned while stirring often. Remove meat.

Add the next two tablespoons of oil to Dutch oven and cook all vegetables in pot for about 5-7 minutes or until vegetables start to brown. Remove from heat, stir in wine, rosemary, and 1 1/2 cups water, broth, and Kitchen Bouquet. Cook over medium heat until boiling, stirring to scrape browned bits from bottom.


Now, I have to admit that I did not completely follow the directions. I couldn't get any rutabagas, so I increased the number of turnips (they're related, so I don't think that's a big deal). I also didn't have enough beef -- I had only 1 pound, 2 ounces of beef, so I added an additional 10 ounces of low fat Italian turkey sausage. I had no idea how it would work, but it certainly would add some flavor.


Return meat to Dutch oven. Bake, covered, for about 2 hours or until meat is tender.


About half hour before the meat and vegetables are ready to come out, start the polenta.  In a medium saucepan, combine milk and 1/4 cup water, bring to boil. In medium bowl, combine 1 cup cold water and cornmeal, stirring. Slowly add cornmeal to boiling milk, reduce heat to medium low. Stir in squash, salt, and pepper, cooking 25-30 minutes or until mixture is very thick and soft, stirring often and adjusting heat to maintain slow boil.

Stir the 1/4 cup cold water and flour, adding to meat. Cook and stir over medium heat on stovetop until thickened and bubbly.

To serve: Spoon polenta into shallow serving bowls, top with meat and vegetables, sprinkling with parsley if desired.


1/3 cup of polenta and 1 cup meat-vegetables mixture has 379 calories, 11g total fat, 31g carbohydrates (4g of fiber!), and 36g protein.

I went a little light on the meat, as I usually have only 3 ounces of meat at dinner, but otherwise, this is what the meal looks like. It's definitely not your run-of-the-mill stew and I really enjoyed it. It's a bit more labor intensive than some of the other meals I've made here, but if you're bored of standard winter fare, this is definitely a recipe to try!

Thursday, January 23, 2014

Tonight's Dinner: Slow Cooker Pork Roast

When I was growing up, one of our favorite dinners was a pork roast cooked in a slow cooker. Made with garlic, onions, peppers, tomatoes, and Italian sausage, it was a dinner that was tasty, but also tended to be high in fat from the roast (into which went the slivers of garlic) and the sausage.  At that time, no one really thought about the amount of fat we were consuming, even someone like myself, who was continually on a diet to try to shed the excess weight I was carrying. Still, it's a dinner that has the potential to be much healthier, with a few tweaks.

I selected a 1lb, 8oz (0.68 kg) roast for tonight's dinner, which I had trimmed of nearly all its visible fat after I had purchased it. Thinly slice 1 1/2 large green peppers (the only kind available during the winter, unfortunately) and 1 medium to large sized onion, putting them in the bottom of the slow cooker (vegetables cook better when on the bottom of a slow cooker). Add 1 large can of diced tomatoes -- no salt is great, as it will lower the sodium content of your meal, if you need to watch your sodium intake.  Add your roast, sprinkle with parsley, oregano, garlic powder (if you don't put garlic in your roast, which you're welcome to do; I don't because of garlic sensitivities in this house), and black pepper.  I like my pork spicy, so I generally add some red pepper flakes to give it a bit of spice.  This is also the time to add a little salt and/or some beef and chicken bullion powder, but remember to go easy on these if you're on a salt-restricted diet. Stir spices and tomatoes to spread spices through the pot.


For years, this is where I'd start the cooking.  We'd eliminated the sausage portion because of its high fat content.  Well, our local grocery store (Giant) started carrying a low-fat hot Italian turkey sausage that tasted even better than most of the pork Italian sausages we found in Pennsylvania, so now this pork creation tastes more like it did when I was a kid! I used 3 links (~10 ounces, or 283 grams), sautéing them in a pan coated with non-stick spray:


Yum, yum!! I added these, stirred to evenly distribute these through the meal. Cover the cooker, turn to high and....it's now cooking. 

As this stands, it's a fairly low carb meal. Tomatoes, onions, and peppers aren't very high in carbs, and of course, the meats have no carbs in them at all. Now all that's left to do is for the meal to cook.  It should be done by around 7:00 this evening.

Generally, I serve this over rice and pair it with a green salad, making it a very healthy meal. When dinner's done and I have it plated, I'll update this entry so you can see how it looks.  'Till then, good eating!

UPDATE, 8:22 PM EST:

Dinner is done and here's what it looks like:


Instead of rice, this goes well with noodles, too. No matter how you serve it, this dish has a lot of texture, aroma, and flavor. Now, I have to admit that this is not my plate; this has more than I normally eat. My serving is more like this:


This has 2/3 cup of noodles, ~ 3 ounces of meat, and an ounce or so of tomatoes and veggies. It's not a lot, but it does has enough to fill me up.

Again, good eating!!